How to Replace a Doorknob in Under 10 Minutes
Replacing a door knob might sound like a job for a seasoned DIYer, but in reality, the process is really simple.
It’s the type of home upgrade that anybody can handle and in this guide on how to replace a door knob, I’m breaking down how you can do it under 10 minutes, no handyman required.

Why Replace Your Cabinet Door Knobs & Door Handles
But before we get into it, let’s address why swapping our old or dated interior door handles is important.
Firstly, not only is a great way to refresh your home but door knobs and door handles can quickly become loose and broken. So knowing how to easily replace them in your home is important!
What You Need:
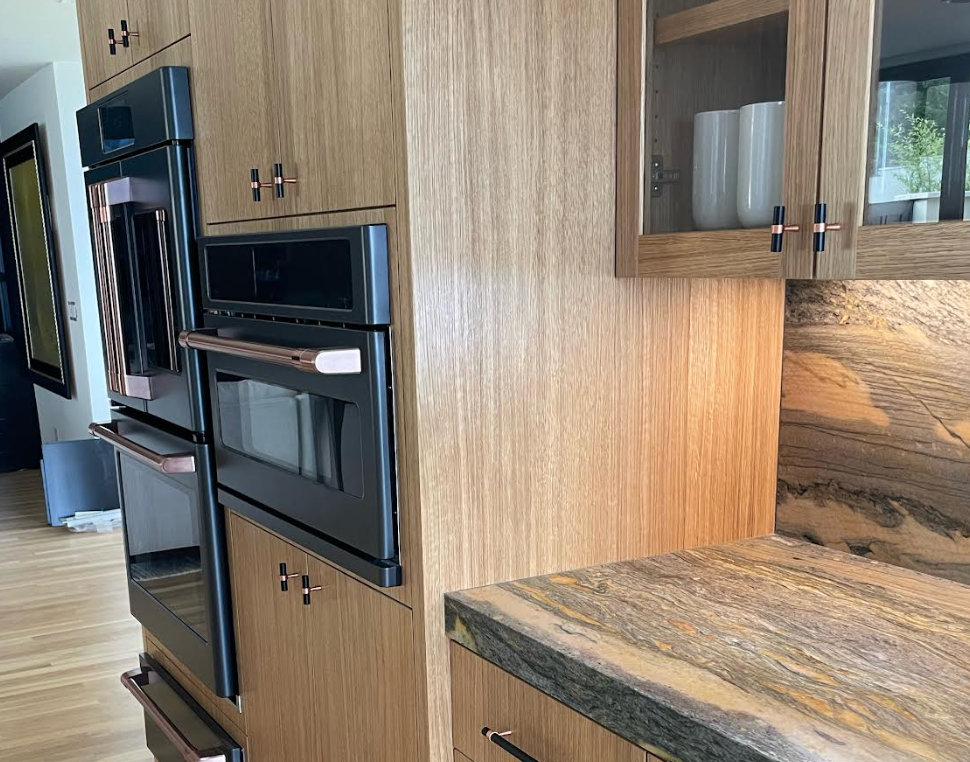
- Your selected door knob or door handle. Make sure to check out the rest of my website, as we have a huge selection that will fit any interior.
- A screwdriver
- A tape measure
Step-by-Step: Replacing a Doorknob
Now that you have what you need, here is how to replace a door knob in under 10 minutes.
1. Remove the Old Doorknob
Start by unscrewing the two screws on the interior side of the door handle. Once removed, pull both sides of the knob away from the door. Set them aside.
2. Remove the Latch Plate
Next, unscrew and remove the latch plate from the edge of the door. Slide the latch mechanism out from the hole.
If the new latch doesn’t fit, measure the backset (distance from the door edge to the knob hole) to ensure compatibility.
3. Install the New Latch
Slide the new latch into the door edge and secure it with screws. Make sure the beveled side of the latch faces the direction the door closes.
4. Attach the New Doorknob
Align the two halves of your new doorknob set on either side of the door, feeding the connecting rod through the latch mechanism. Once aligned, screw them into place.
5. Test the Handle
Before you declare the job done, turn the handle and check the latch to make sure everything moves smoothly. Close the door to ensure the latch lines up correctly with the strike plate.
Step-by-Step: Replacing a Cabinet Doorknob or Handle
1. Measure the hole distance
This is really important and, often, people don't know this is how cabinet handles are measured. Usually, they will be a standard measurement (indicated below) but, that's not to say, that you won't have a different size - it may just not be as common eg on an antique piece of furniture.
- T-Bar or Knob: single hole
- 96mm/3.78” hole distance
- 128mm/5.04” hole distance
- 160mm/6.3” hole distance
- 224mm/8.8” hole distance
- 320mm/12.6” hole distance
2. Place a sample order
This is when you place an order for 1 x handle or knob to check that the color, style and finish is right for your project. Remember to check the lead time - it's usually from around 2 weeks if the item is made to order.
3. Place your full order
Place your full order - remember to triple check the quantity you need to avoid any last minute rush orders further down the line! Helpful tip: check the depth of your cabinet or drawer front to make sure it's a standard size. If it isn't, then you'll need to either request longer screws with your order or buy some suitable ones.
4. Remove your old handles
Simply remove your old handles with a screwdriver.
5. Install your new handles
Install your new handles with the correct length screw and enjoy the new look to your interior!

Key Takeaways on How to Replace a Doorknob in Under 10 Minutes
That concludes this guide on how to replace a door knob or switch our your cabinet handles and knobs in under 10 minutes.
Make sure to check out our shop where you’ll find a huge selection of affordable door knobs and cabinet door handles that will update your interior.
Whether you’re looking for something modern, vintage or unique, we have it all!


Comments